Testing methods
Geometry
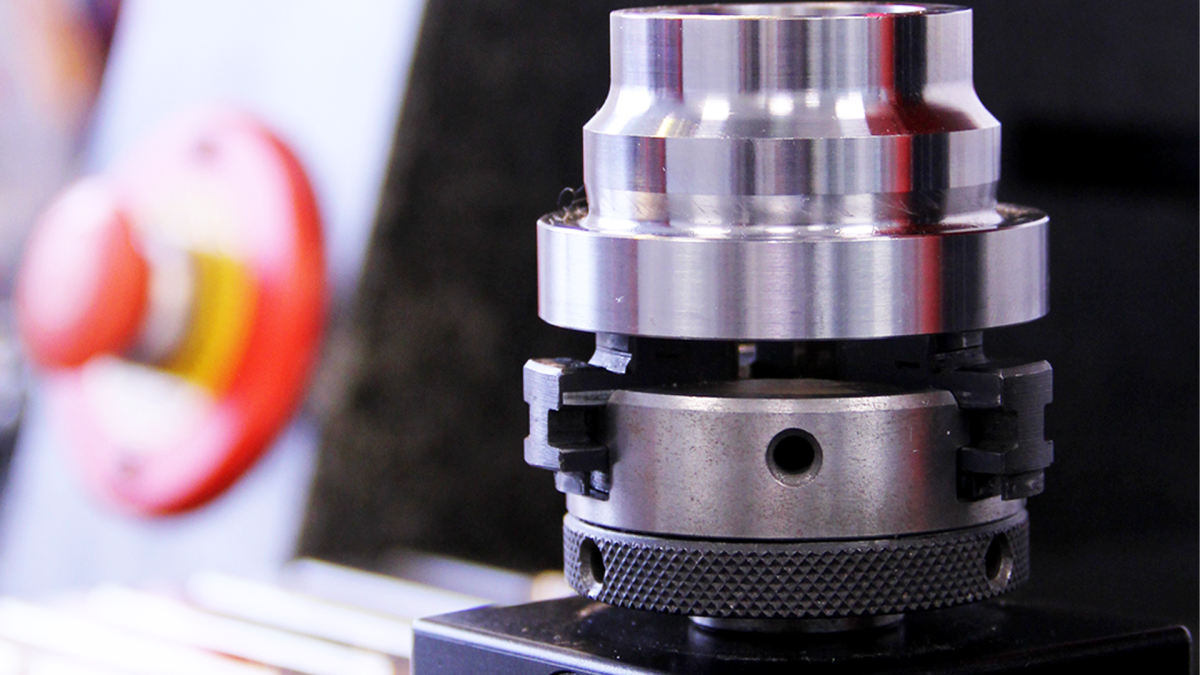
3D measuring — by sight, by touch and by laser
Complex geometries are particularly challenging for measuring technology. To reliably determine shape and positional tolerances in these cases, we use a state-of-the-art 3D coordinate measuring device. Using a camera, a touch probe and laser technology, the workpiece is examined by three measuring sensors. This enables us to provide a measuring accuracy and a repeat accuracy in the micro range. To err on the side of caution and exclude the influence of temperature fluctuations on the length of the component, the 3D measuring instrument is located in an air-conditioned room at a constant temperature and humidity.
Contour measuring — it scans well
Does the connecting piece live up to its promise? When it comes to evaluating heights, lengths, angles and radii, we test the work pieces quickly and reliably in a tactile contour measuring device. The measuring accuracy of this process is within the micro range.
Hardness tests
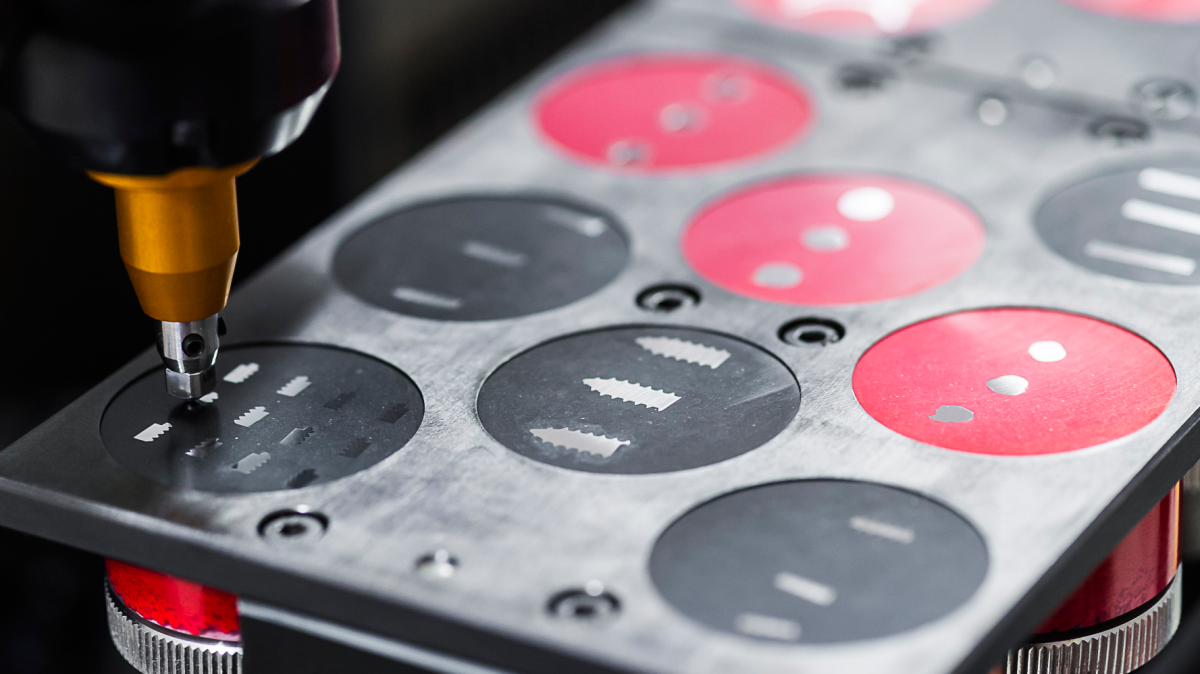
Metals
Our portfolio includes the Brinell, Vickers and Rockwell testing methods for determining the hardness of metallic connection elements in line with current standards. In addition, the laboratory tests the depth of the case hardness on, among other things, tapping screws and self-tapping screws. Thanks to state-of-the-art laboratory facilities, simultaneous testing is also possible — after all, speed is of the essence in the event of damage as well as in product development.
Standardised hardness testing for metals e.g. in line with
- DIN EN ISO 6506-1
- DIN EN ISO 6507-1
- DIN EN ISO 6508-1
- DIN EN ISO 2639
- DIN EN ISO 2702
- DIN 7500
Plastics
Plastics and rubber are tested for their hardness in an air-conditioned room at a constant temperature and humidity. We offer standardised testing using the Shore A and Shore B methods for elastomers or thermoplastic elastomers depending on their hardness. For very small specimen dimensions, we use the standardised IRHD microhardness test (method M). In addition, we are even able to test components with a minimum material thickness of 0.5 mm by using the Micro Shore A method.
Standardised hardness testing for plastics e.g. in line with
- DIN ISO 7619-1
- DIN EN ISO 868
- DIN ISO 48
Surface
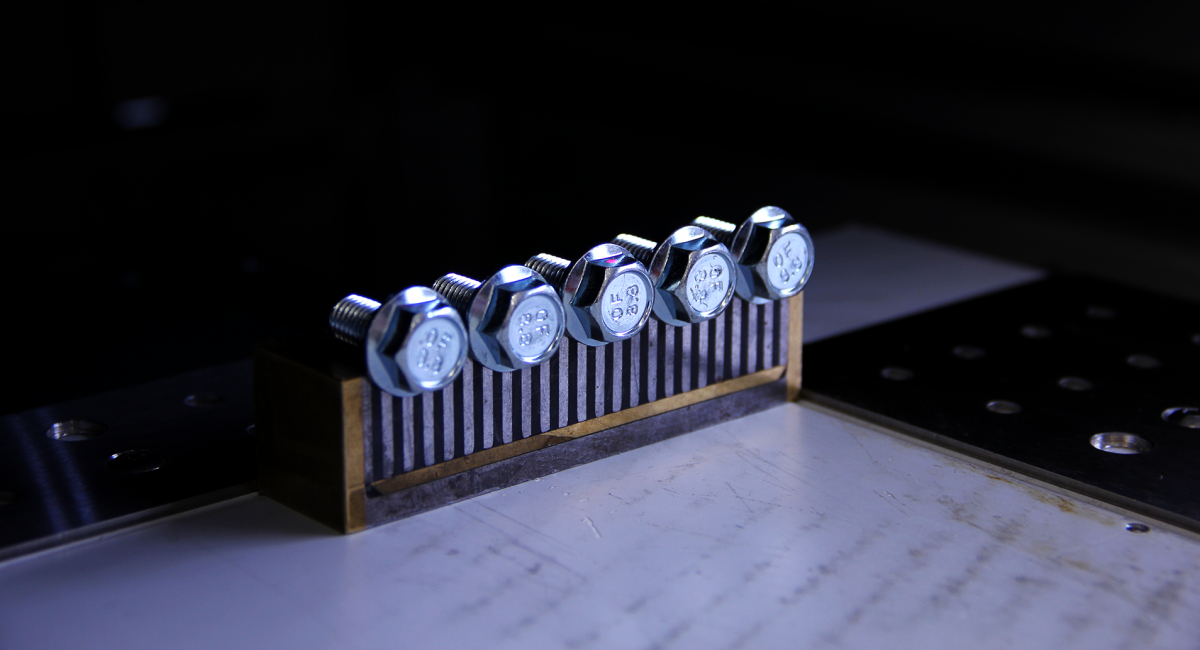
Corrosion testing — when mist turns salty
To test the resistance and protection level of coatings, we expose the test specimen to a sodium chloride solution. With a neutral pH value, the solution continuously attacks the surface of the specimen in the 35 degree salt spray chamber. Depending on the application requirements of the connection technology, the testing time can last from a few hours right up to several 1000 hours. Afterwards, typical features such as white rust and red rust can be assessed.
Neutral salt spray testing e.g. in line with
- DIN EN ISO 9227
Coating thickness — nothing escapes X-rays
How thick are the coatings or metallic coverings on a surface? Coat thickness measurement provides the answer to this question. An X-ray fluorescence measuring instrument enables us to carry out a non-destructive analysis and determine core parameters within seconds. This includes different galvanised coatings and the elemental composition of multilayer coverings.
Screw connections
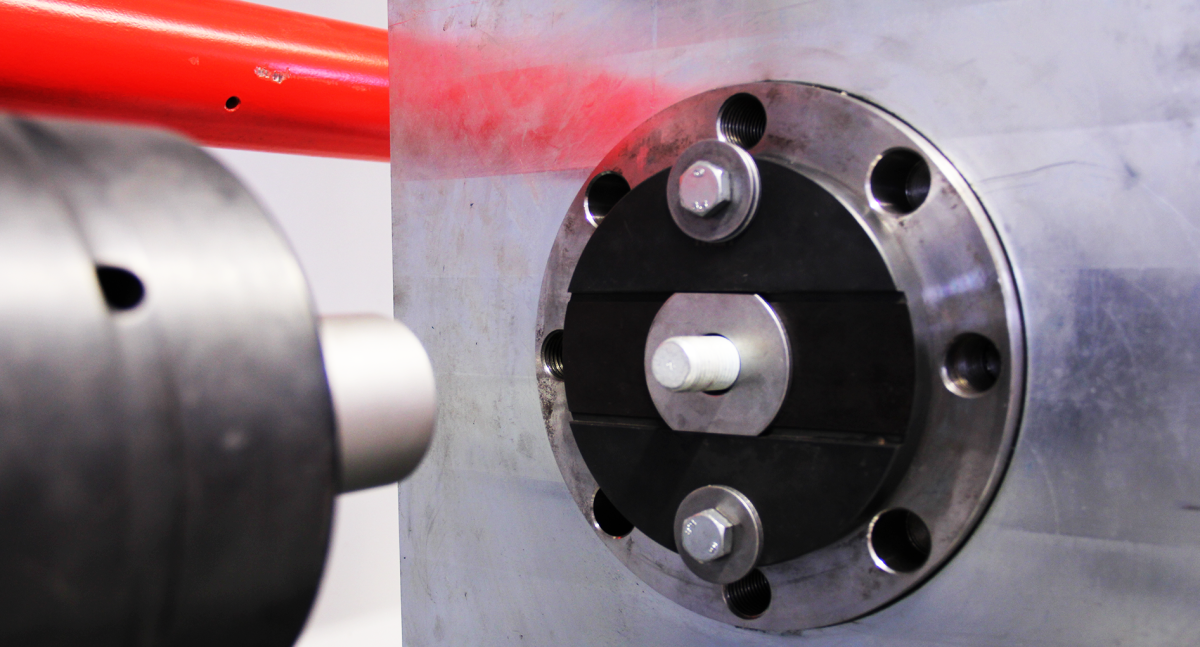
Friction coefficient testing — from very small to M80
A pre-tensioned screw connection is not possible without friction. At the same time, the friction coefficient must be as stable as possible to allow for easy assembly and maximum load-bearing capacity.
We test standard screws up to size M5. For even bigger screws, we deploy the world's largest friction coefficient testing machine for connection technology.
Here, screws up to dimension M80 with a pre-tensioning force of 5000 kN are subject to rigorous testing at a total torque of up to 60,000 Nm.
Standardised friction coefficient determination in line with
- DIN EN ISO 16047
- DIN EN 14399
- VDA 235-203
Torsion testing — special screw testing
Our facilities include two vertical torque test benches. These are used to determine the torque and the rotation angle of connection parts. This includes the functional characteristics of screws in relation to breaking torque, screw-in torque, rolling torque and tightening torque.
This technology is also always used if the behaviour of a connection element has to be evaluated on a customer's specific component. This makes us the partner of choice when it comes to application consulting and the joint development of new products.
Standardised torsion testing in line with
- DIN 7500
- DIN 267-27
- DIN 267-28
Tensile tests
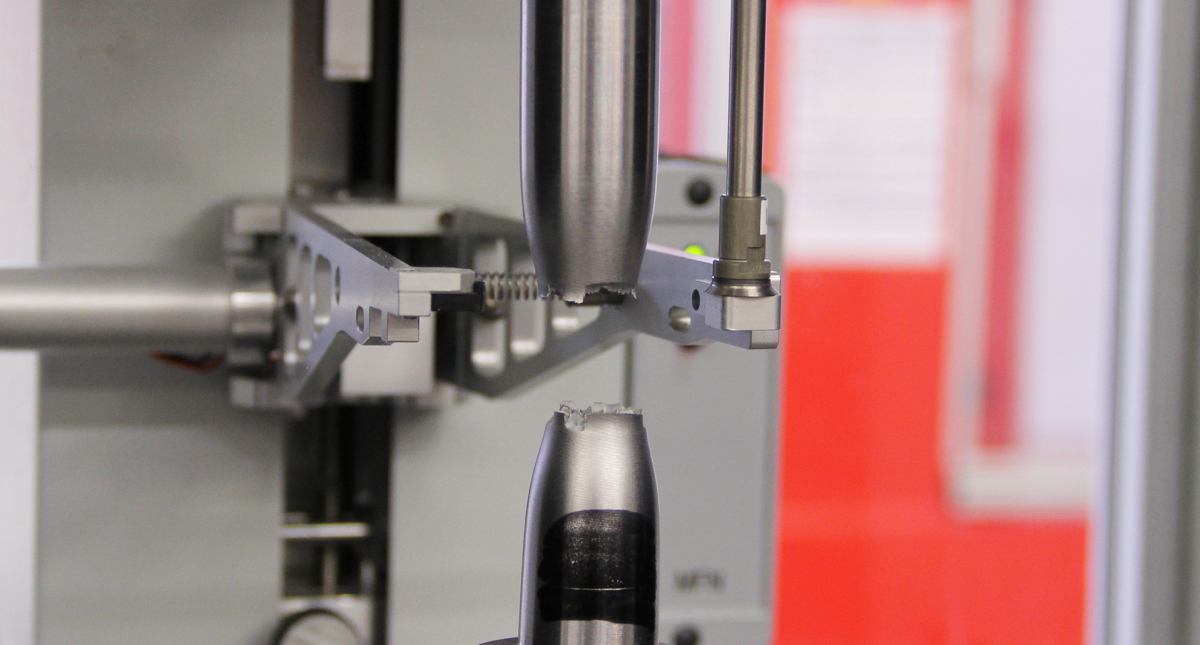
Tensile testing — it's make or break
The categorisation of screws, nuts and metallic components into strength classes forms the basis for a targeted and appropriate application. To determine important parameters, such as tensile strength and yield point, we subject screws, nuts and other metallic components to forces up to 60 tonnes in our twin-column tensile testing machine. During this process, specimens are loaded until they break or until the specified test force is reached. Using the angular tensile test, we can also test finished screws where the transition radius is exposed to additional stresses. In addition to screws up to M30 (8.8) and nuts up to M33 (10), we also offer tensile testing for machined specimens.
Standardised tensile testing e.g. in line with
- DIN EN ISO 6892-1
- DIN EN ISO 898-1
- DIN EN ISO 898-2
Material science
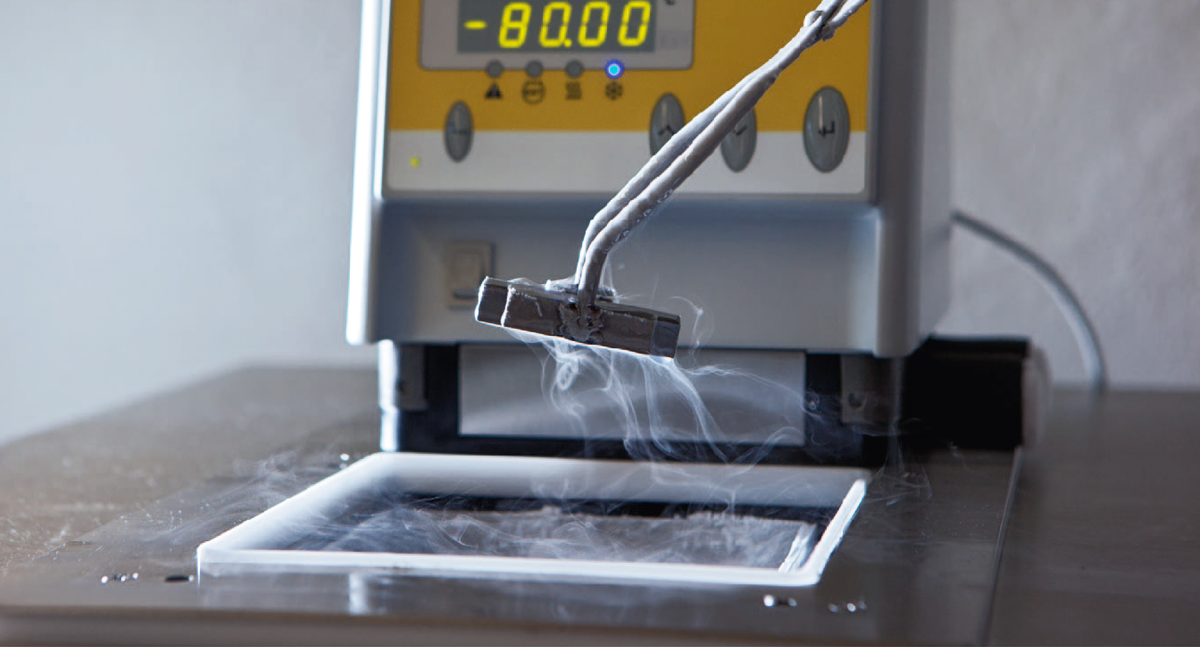
Impact testing — hammering out results
The selection of a specific material also depends on its deformation behaviour at varying temperature ranges. To establish the toughness of a metallic material at negative temperatures up to -80°C, we employ the impact test method. In this process, the specimen is first cooled to the exact testing temperature in a separate refrigerated circulator. In a pendulum impact tester with an automatic pendulum lift and automatic pendulum brake, the hammer then hits the centre of the notched workpiece.
Standardised impact testing in line with
- DIN EN ISO 148-1
Material analysis — making sparks fly
Material analysis using spectral technology is about establishing the elemental composition of metals as a percentage. In our laboratory, we can flexibly test all current metallic materials that are based on iron, aluminium and copper. The vacuum spark emission spectrometer used for this process sparks off the surface of the specimen and produces a clear result indicating the elements contained and their weighting.
Metallography — looking deep beneath the surface
Structural analysis is used to analyse surface flaws and thermal treatment, even in the event of damage. Metallographic sections are produced in our sample preparation room and are then inspected so that their constituents can be identified. Using state-of-the-art microscopes during this process enables the analysis of the proportion of constituents, for example martensite or delta ferrite. It is also possible to establish the surface decarburisation and carburisation of the workpiece.
